 For some, the holidays are a time of heightened crafting – making wreaths, designing centerpieces, stringing popcorn garlands, knitting warm to-be-gifted hats and scarves, and building elaborate gingerbread wonderlands. For everyone, the holidays are a time to be with and celebrate family – present and past.
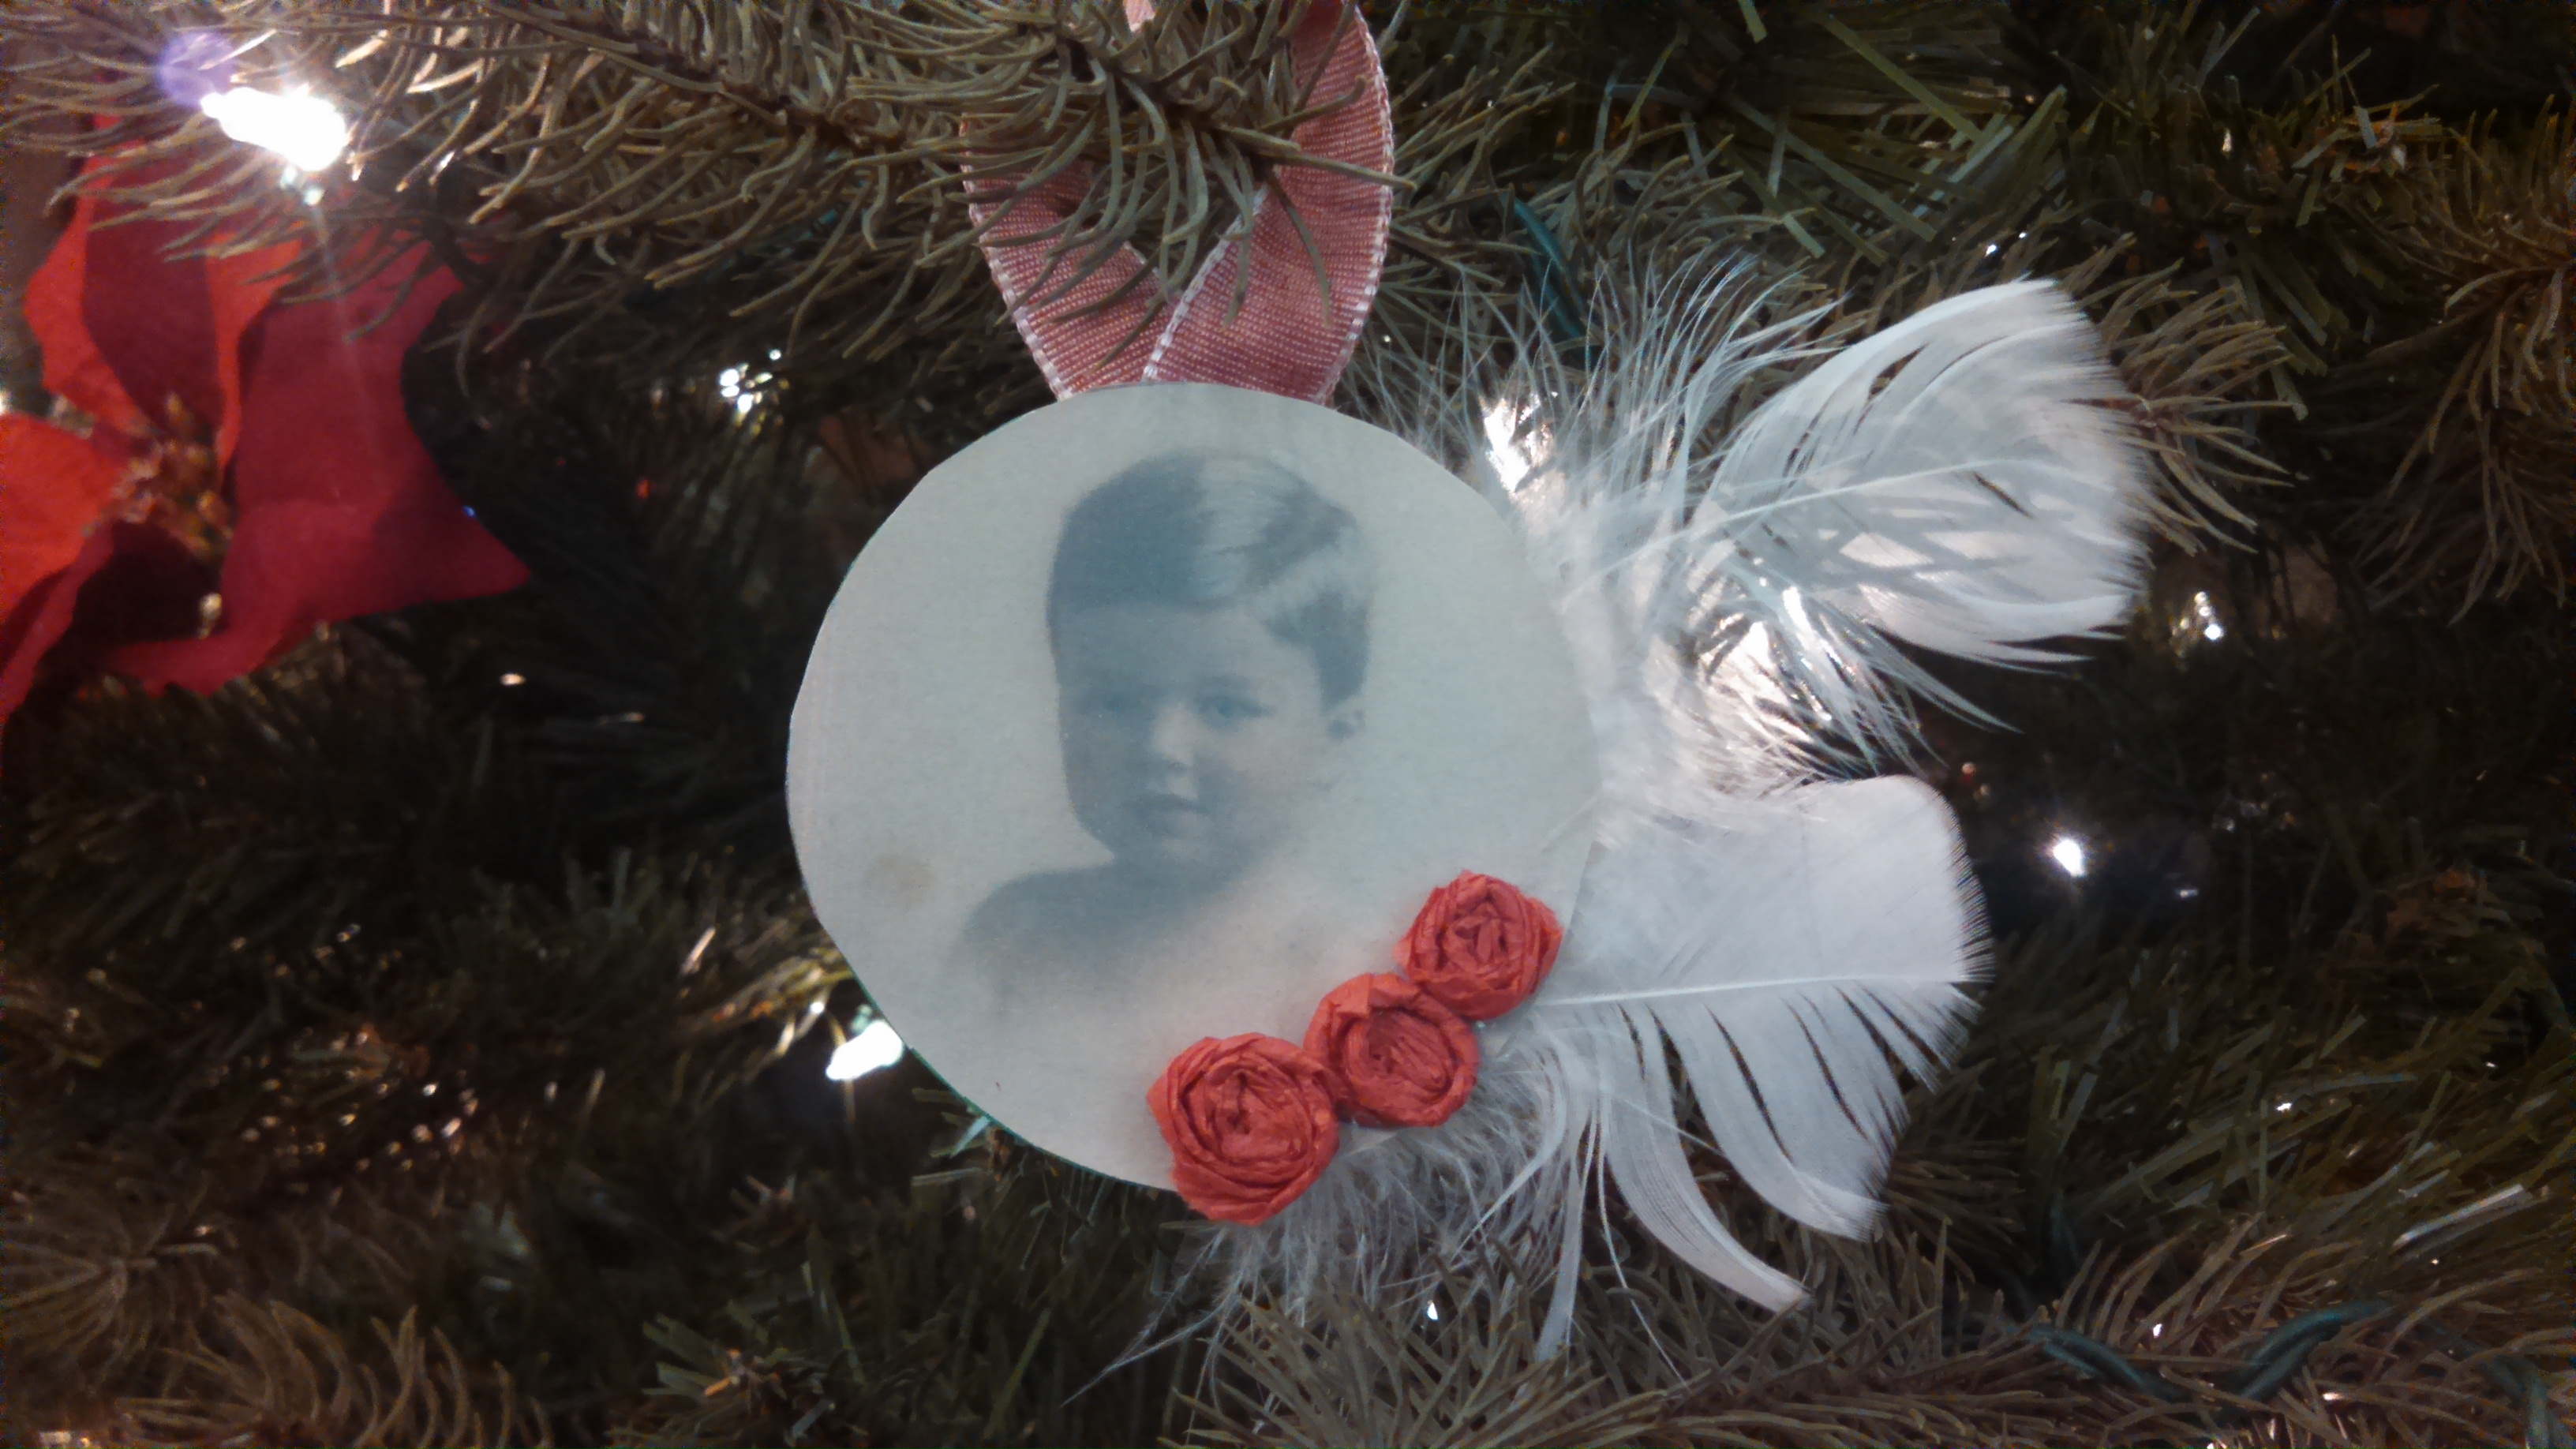
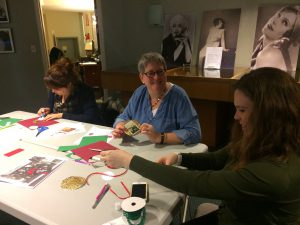
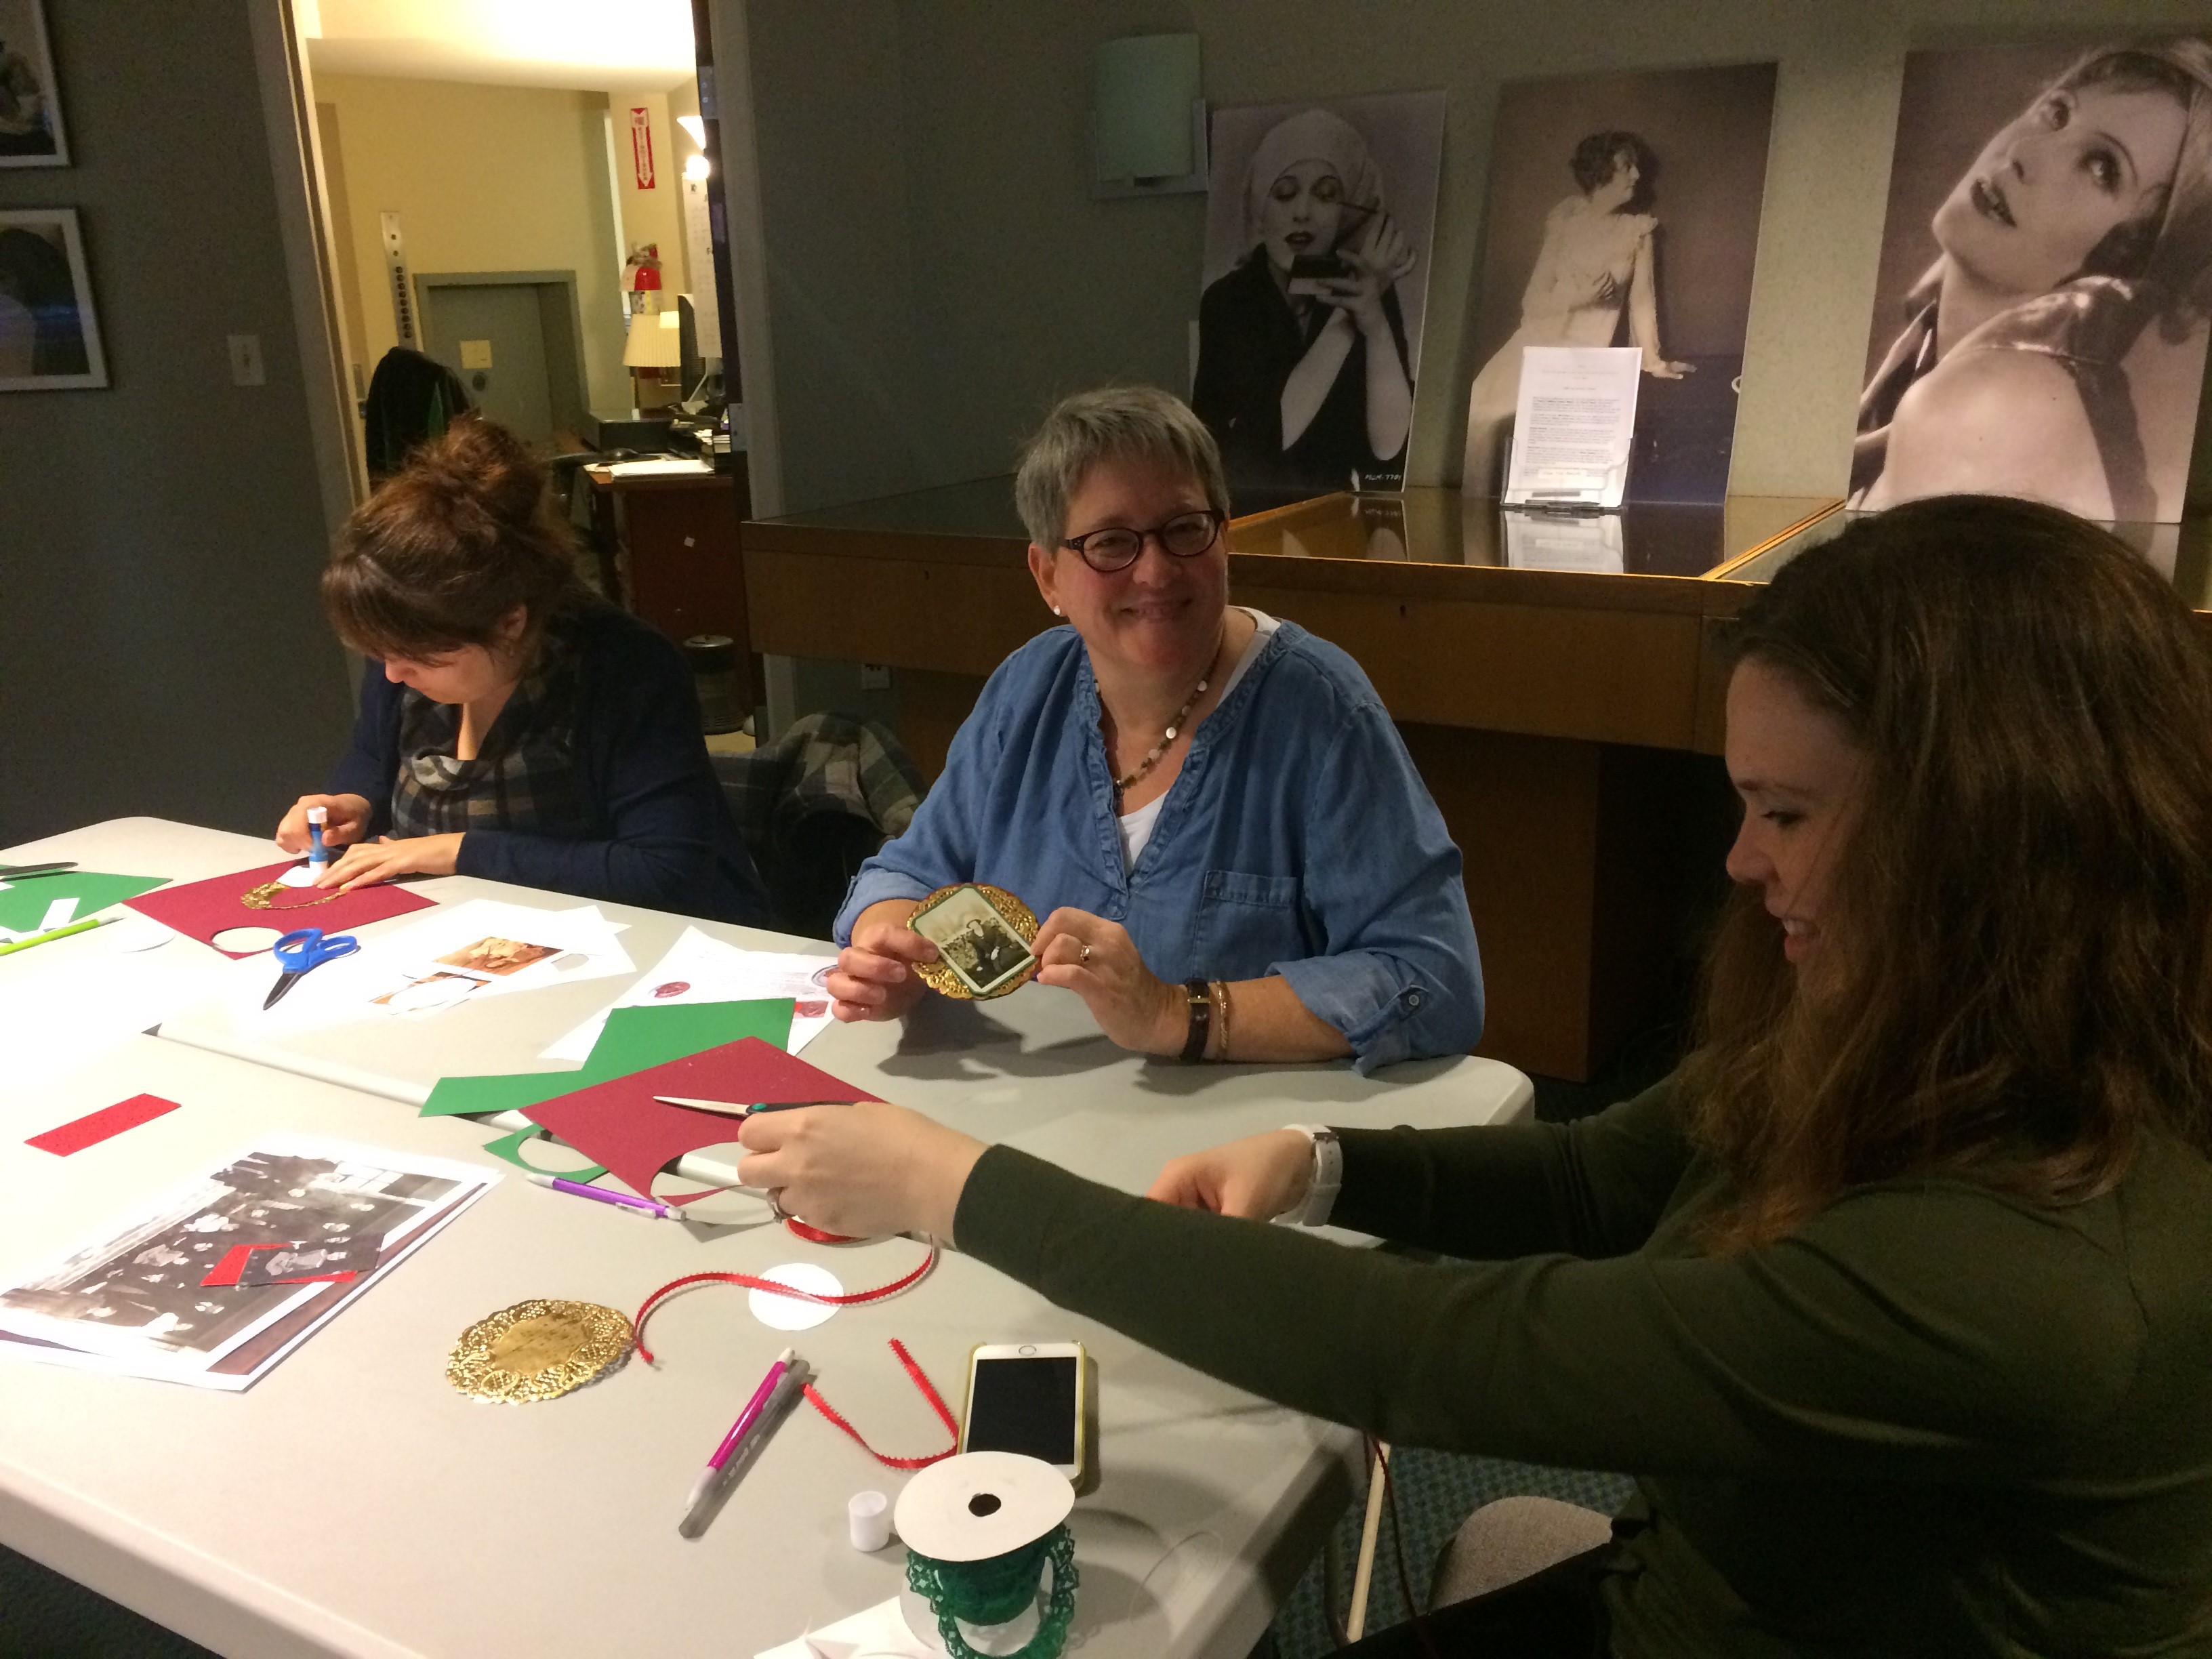
Since 2013, staff at NEHGS have combined spirited crafting and a passion for genealogy by creating special ornaments using (facsimiles of) family photographs. The ornaments adorn the tree at the Society and are taken home just before Christmas. Even among unrelated crafters, we can’t help but share the “who,” “what,” and “when” of our photos with each other. Some staff have even chosen to represent lines of descent within a single ornament (see below) – a family tree in 3D!
From our family to yours, adopt this crafting tradition and celebrate your ancestors by creating a special keepsake ornament. When made with family members – especially children or grandchildren – you’ll not only create new family memories, but also share a piece of family history. Follow the basic instructions below or click here for printable instructions and templates.
Step 1: Scan & Print Your Image
Scan your family photos, resize to approximately 3″ × 4″, and print. Be sure to scan your images at 300 or 600 dpi for best printing quality. You can resize your photo in Microsoft® Word, Adobe® Photoshop, or any number of image viewing programs. If you don’t have these resources at home, a local copy center can help.
 Step 2: Select Your Shape
Determine what shape will work best for your picture. Cut out that shape on colorful cardstock or poster board. This is the backing for your ornament. Use the templates on our website, or make your own.
With a pencil, trace around the cut-out backing on the printed picture.
Cut out the traced shape and glue to the backing. Trim any exposed poster board.
 Step 3: Trim Your Ornament
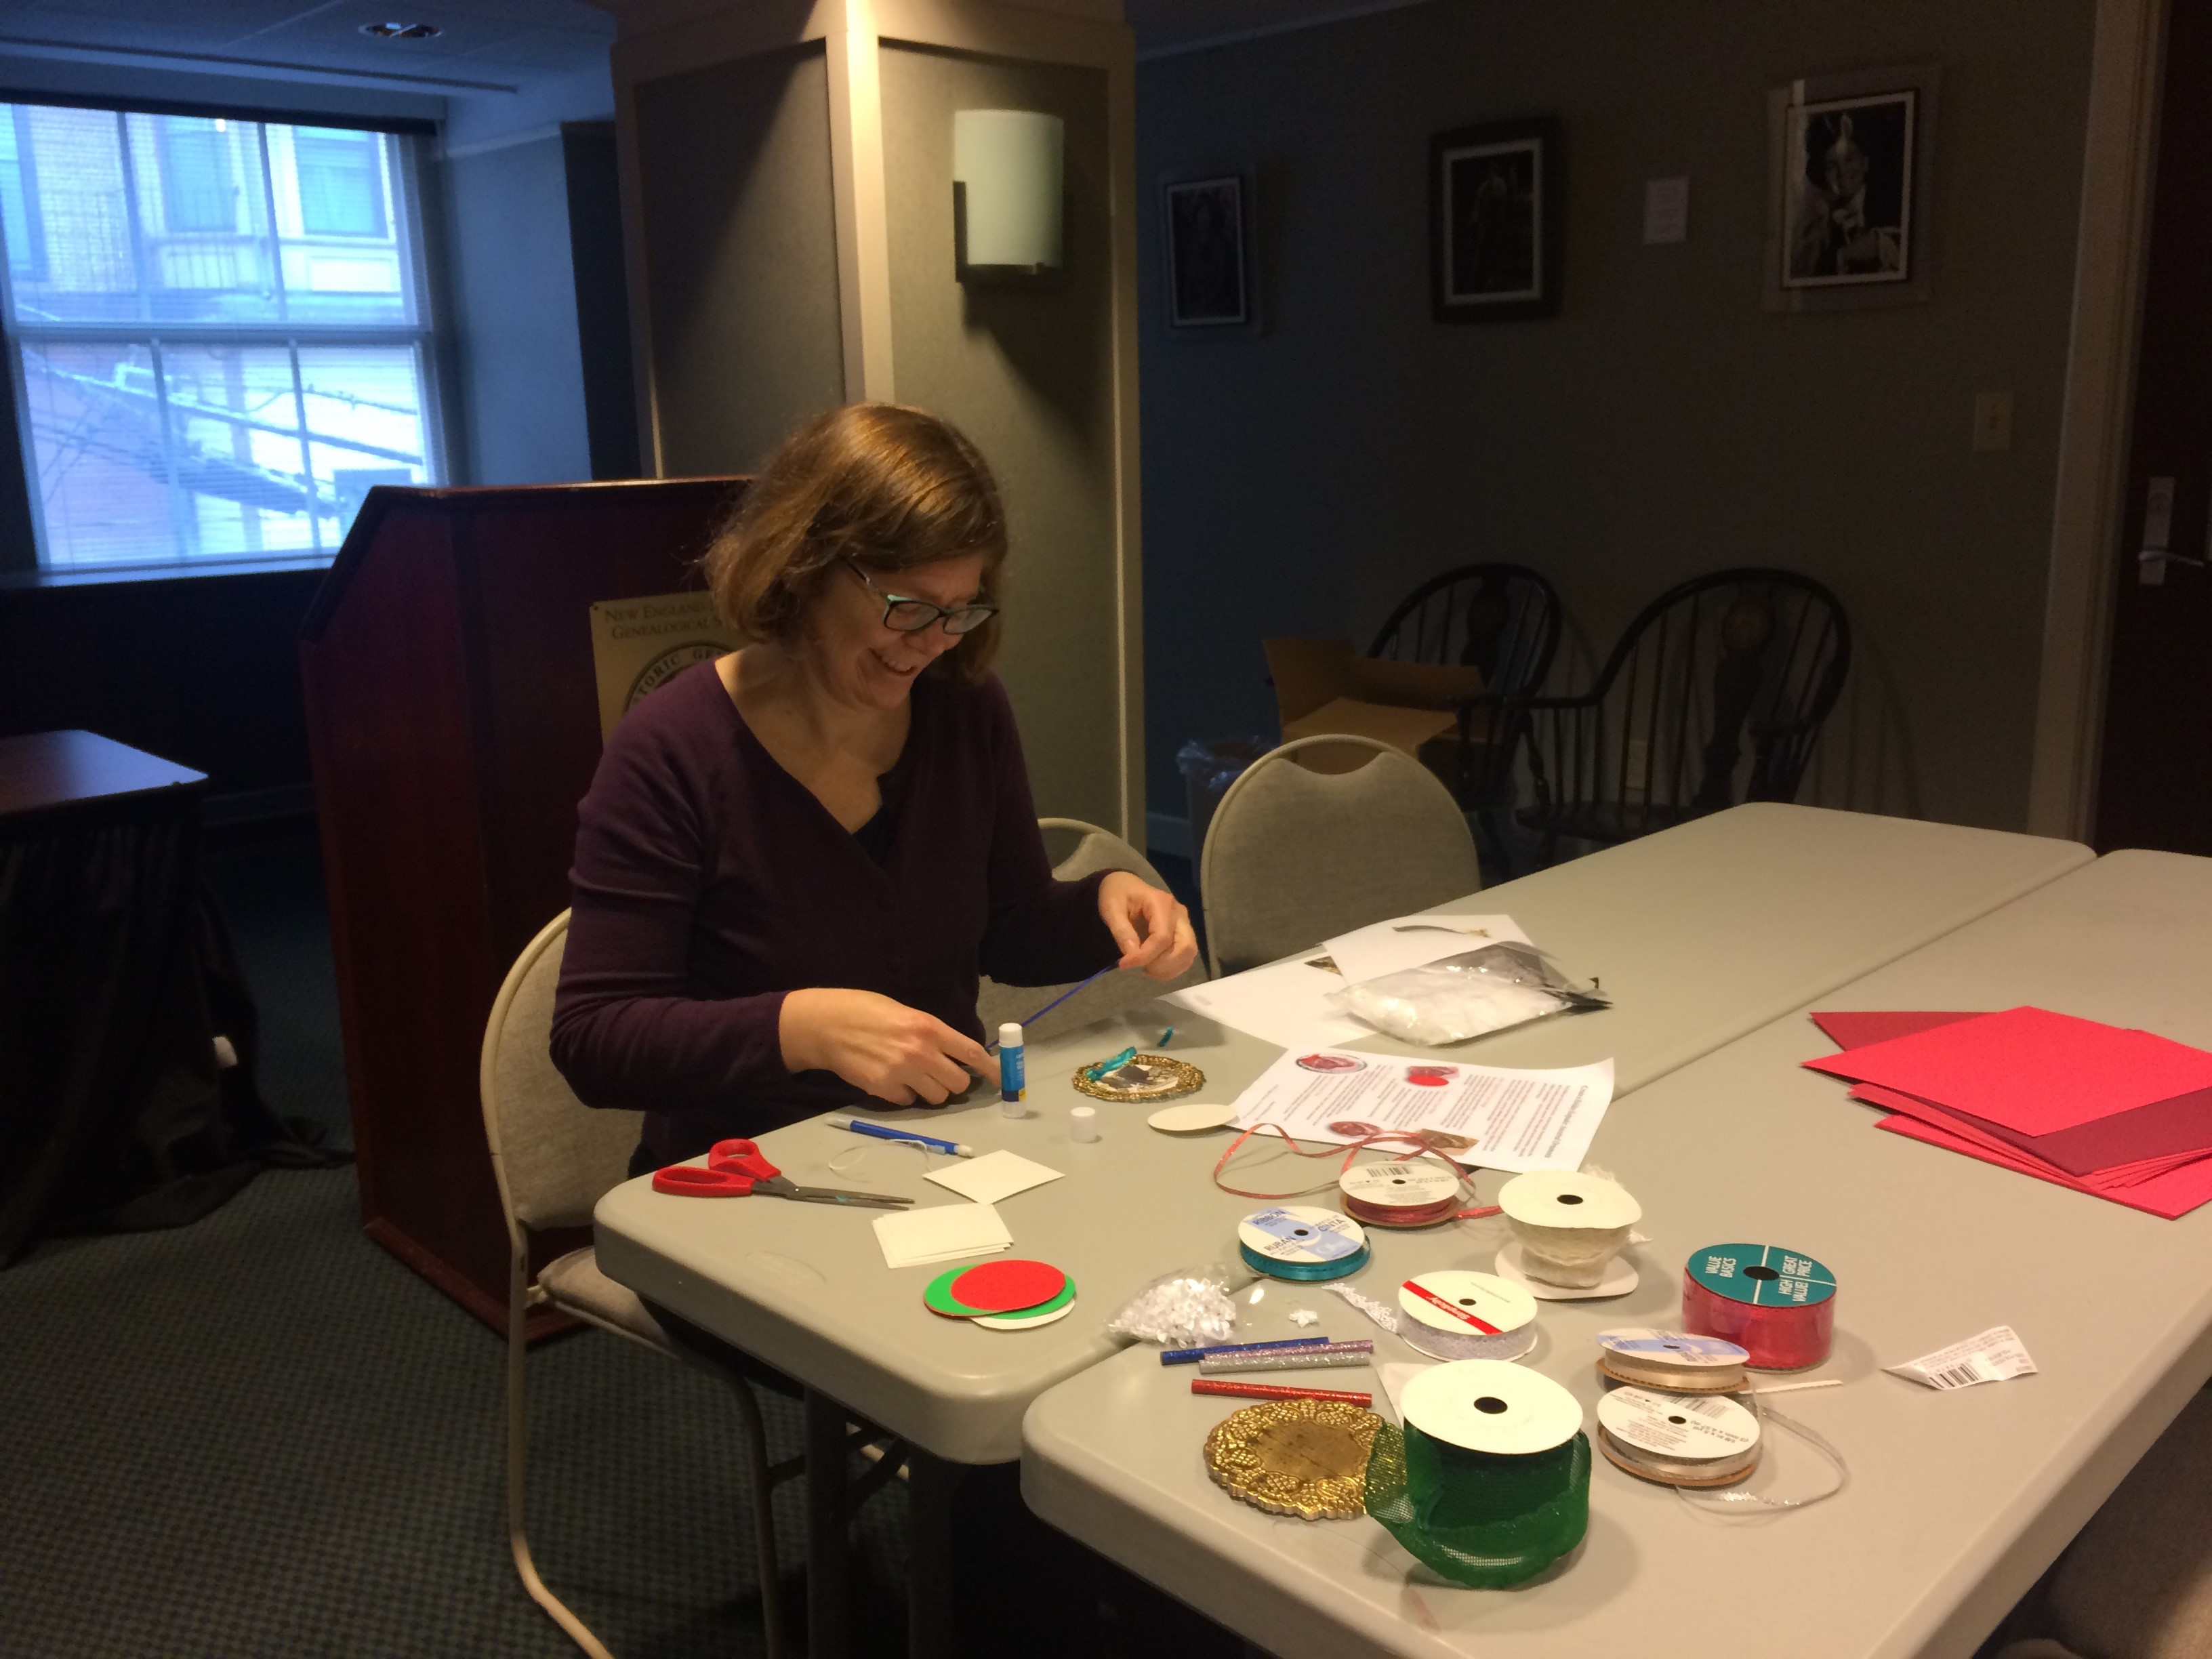
Trim your ornament using ribbon, lace, tassels, sequins, yarn, buttons, feathers – anything! A hot glue gun is needed for heavier trimmings such as buttons and bows. You can also use a tapestry needle to stitch ribbon or yarn around the edge. Add a loop for hanging using a hole punch or glue.
Don’t forget to write the “who,” “when,” and “where” of the photo on the back!
 Step 4: Trim Your Tree

Your ancestral ornament is complete! Trim your tree and save your keepsake creations for years – and generations – to come.
